How to Build a Wildlife-Friendly Pond in a Weekend
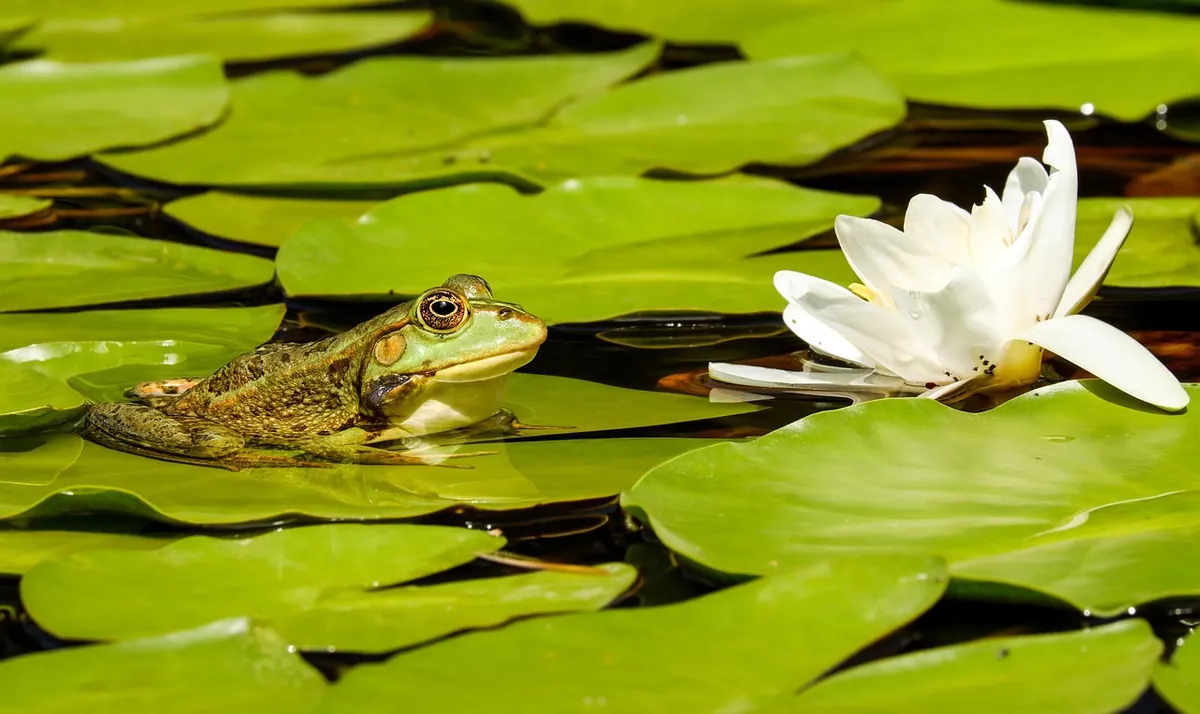
A pond the size of a dining table will bring more life to a garden than almost anything else you can build in a weekend. Within days of filling it you will have beetles skating across the surface; within a season, frogs, damselflies and birds coming down to bathe. The plan below is for a small garden pond, roughly 1.5 by 2 metres and about 50 cm deep in the middle, dug, lined, filled and planted between Saturday morning and Sunday evening. It assumes you are reasonably fit, that you know where the pipes and cables run, and that you do not mind spending Saturday with mud on your knees.
Half a day of sun and half a day of shade is close to ideal. Sun warms the water and encourages the insects everything else feeds on; shade keeps the pond from turning into a bowl of green soup in August. Stay away from the drip line of big trees: falling leaves rot down and feed algae, and roots can find their way under a liner.
Avoid the lowest corner of the garden if water from the patio or lawn drains into it. Runoff can carry fertiliser, weedkiller and soil, and a pond that receives them will struggle. Ground that is level or very gently sloping is easiest, because the rim needs to be level all the way round.
Size matters less than stability. A larger pond heats and cools more slowly and supports more species, but 1.5 by 2 metres is plenty for a town garden. Go for depth rather than width: 40 to 60 cm in the centre, with a shallow shelf around part of the edge at 20 to 25 cm. That shelf is where most of your plants will sit, and it gives frogs and insects an easy route in and out.
Two quick checks before you pick up a spade. Confirm where the services run under the garden, and look up any local rules on ponds, especially if you have small children or rent the property. Requirements vary by country and region, so it is worth a five-minute check with your local authority rather than a surprise later.
Digging is quick. Chasing down a missing liner on Sunday afternoon is not. Gather everything first, and start collecting rainwater a few days ahead if you can, because a pond filled with rainwater settles faster and grows less algae than one filled from the tap.
Mark the shape with string and pegs. An oval or a kidney with gently sloping sides is easier to line neatly than a rectangle and friendlier to wildlife than steep walls.
This is the part most weekend ponds get wrong. A liner rising straight out of the water is a trap: frogs, hedgehogs and ground beetles fall in and cannot climb the slippery plastic. Build at least one escape route, and ideally two.
At one end, extend the liner outwards into a shallow ramp and cover it with smooth pebbles or a flat stone that slopes gently from dry ground into the water. Keep the gravel small and rounded so nothing snags. Birds will use it for bathing, and amphibians will use it as a ladder.
On the opposite side, lean a piece of weathered wood or a stack of stones into the water at a shallow angle, with the top resting on the bank. Frogs climb rough surfaces readily. Then soften the rest of the rim: turf turned upside down and pressed over the overlap, flat stones, low plants that spill towards the water.
If there are toddlers in the household or regular small visitors, treat the pond as you would any other body of water: shallow shelves, no hidden drop just inside the edge, and a firm grid cover or a raised design if you need one. Supervise children near water at all times.
Aim to leave 40 to 60 per cent of the surface open. Crowded ponds look generous but go stale, and open water is where dragonflies patrol and birds bathe.
Choose species native to your own region where possible; a good local nursery or wildlife trust plant list will tell you what belongs. Plant in baskets lined with hessian and filled with ordinary garden soil or loam, never potting compost, which is rich enough to feed a blanket of algae. Skip anything vigorous or non-native such as parrot's feather, water hyacinth or New Zealand pigmyweed, all of which spread fast and are banned from sale in several countries.
And resist fish. A wildlife pond works best without them, because fish eat the larvae and tadpoles you are trying to encourage.
Leave a log pile and a few stones in the damp border near the pond; frogs and newts shelter there between visits. Leave a patch of longer grass and a gap under the fence so hedgehogs can reach the water. Resist a fountain: still water is what most pond life wants, and a small solar bubbler in hot weather is plenty if you feel the need.
In autumn, net out excess leaves rather than letting them sink and rot. In dry spells, top up with rainwater. That is the whole maintenance list.
Expect cloudy water at first. It clears as plants establish and the pond finds its own balance, so do not empty it and start again. Check the level after a week, since the liner often settles and drops a couple of centimetres, and top up from a water butt if you can.
Then leave it alone. Wildlife finds new water quickly, and the pond will be livelier in three months if you resist tidying it.
Water boatmen and diving beetles usually appear within days, followed by damselflies and, in a good year, frogs. Do not move frogspawn in from another pond; it can carry disease and invasive plants. Let your pond be colonised on its own terms. By next spring you will have a corner of the garden that earns its space every single evening.
Photo: Couleur / Pixabay
Previous Post
10 Common Lawn Care Mistakes That Invite Weeds and Patchy Grass
Next Post
A Seasonal Garden Maintenance Calendar for Temperate Climates