How to Create a Gravel Garden That Survives Hot, Dry Summers
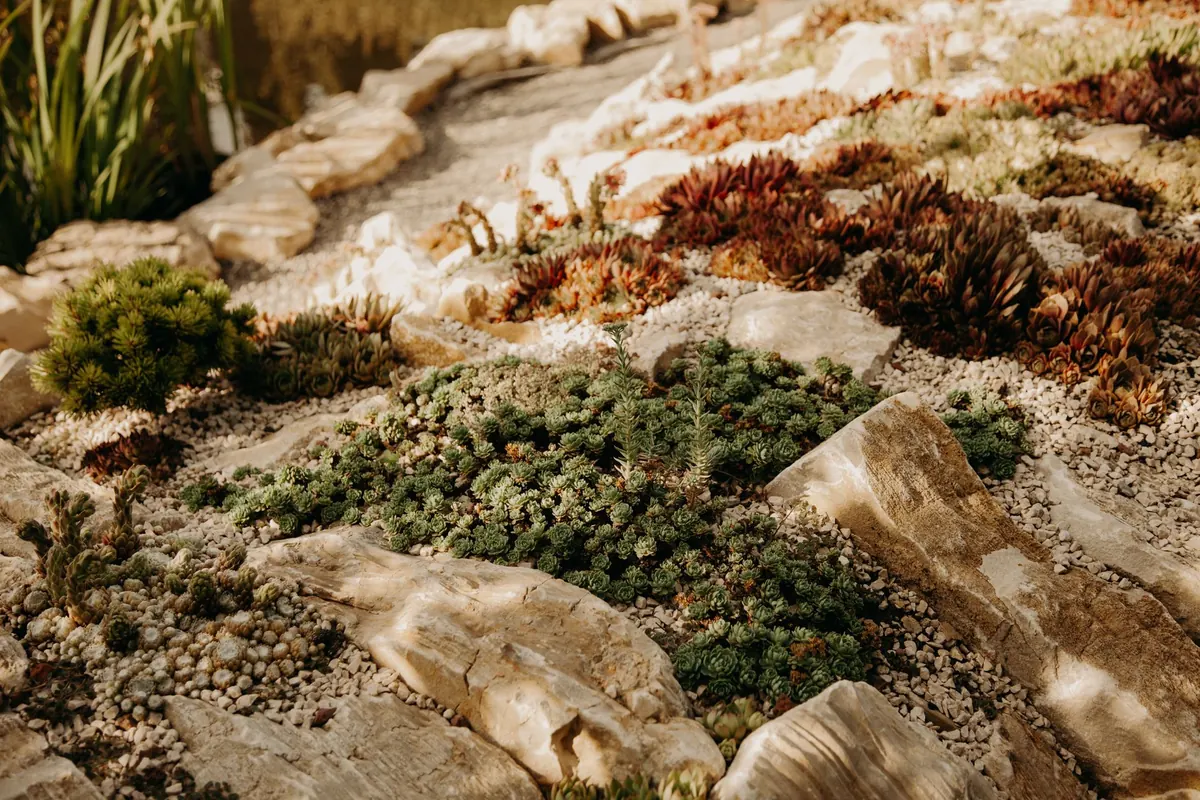
A gravel garden looks effortless in late summer. Everything else has gone brown, and the lavender, the grasses and the santolina are quietly getting on with it, feet dry, shoulders in the sun. That look is not really a planting style. It is decided long before the first bag of stone is tipped out — in how the ground beneath was drained, cleared and levelled.
Get those few things right and a gravel garden becomes the least demanding part of the plot. Get them wrong and you will spend three summers watering plants that were sold to you as drought-proof.
A gravel mulch does two jobs at once, and they sound contradictory until you see them working. It keeps water out of the places you don't want it — around the crowns and stem bases where rot starts in a wet winter — while keeping the moisture that does reach the soil in, by shading it from sun and wind. Rain passes straight through the stones instead of running off or evaporating from a bare surface.
There is a third effect that matters more than most gardeners expect: reflected light. Pale stone bounces heat and brightness up into low plants, which is why lavender and silver-leaved shrubs look better in gravel than almost anywhere else. And the soil warms earlier in spring, so plants start growing while the rest of the garden is still sulking.
Think of a gravel garden as a drainage system with plants in it, rather than a border with stones on top.
It does, because it does. More gravel gardens fail in a wet February than in a hot August.
Start by clearing perennial weeds properly. Bindweed, ground elder and couch grass will not be smothered by 6cm of stone; they will simply come through it, and pulling them out of gravel is miserable work. Dig the bed over, leave it a few weeks, and dig out regrowth before you go any further.
Then resist the urge to feed. Dry-garden plants want lean ground. Rich soil or plenty of compost produces soft, floppy growth that collapses in wind and rots in winter; the same plants on poor soil are compact, floriferous and tough. If your soil is already reasonable, leave it alone.
Drainage is the part worth real effort. Dig a test hole about 30cm deep, fill it with water, and look again the next morning. If it is still full, you have heavy clay and need a plan:
Set your path levels and edges at this stage too. Once the gravel is down, changing your mind means moving a lot of stone.
For beds, 5–8cm is the useful range. Less than 4cm and weeds push through and the mulch effect disappears; much more than 8cm and small plants struggle, and the stone swallows anything low-growing. For paths, dig out 10cm, compact a hardcore sub-base, lay a geotextile membrane, then 5cm of gravel on top. Gravel alone on bare soil will migrate, sink and turn into a muddy mess within a season.
Choose angular, quarried stone rather than rounded pea gravel. Angular pieces lock together and stay put on slopes and path edges; rounded pea gravel rolls, especially underfoot near doors. A 10–14mm grade suits beds, 14–20mm suits paths and driveways. Buy local stone if you can — it settles into the landscape faster and costs less to transport. Ask to see a sample wet as well as dry, because dust and colour change completely after rain.
One caution: limestone and other alkaline chippings will raise the pH around them. That is fine for lavender and rosemary, less so around acid-loving shrubs. Also keep gravel at least 15cm below the damp-proof course of the house, and never pile it over air bricks.
Weed membrane is optional in beds. It helps in the first year, but it makes planting, dividing and self-seeders far more difficult later. If you use it, cut cross slits rather than holes, and pull the edges under the gravel.
The rule is simple: pick plants from places with hot, dry summers and sharp drainage — the Mediterranean, the steppes, the high plains. Then plant for foliage first, because grey, silver and aromatic leaves carry the garden through the weeks when little is in flower.
Group plants in threes or fives rather than dotting one of everything about. Repetition is what makes gravel planting look designed. And check hardiness for your area: cold is rarely the killer, but a wet winter is.
Early autumn is the best moment in mild climates: the soil is still warm, rain does the watering, and roots establish before the first summer that tests them. Water new plantings through their first dry season, then start withdrawing the hose the following year.
Established gravel gardens need very little, but not nothing. Water deeply and rarely rather than little and often — a good soak every ten days in the first summer encourages roots downward. After that, most of these plants would rather you left them alone; a weekly sprinkle makes them shallow-rooted and dependent.
Leave the seedheads standing through winter. They feed the birds, hold structure in frost, and give you something to look at in January.
Weed in the first two years before anything sets seed, when the surface is damp and the roots come out easily. Cut back the previous year's growth in early spring rather than autumn, so the dead stems protect the crowns from wet. Don't feed. Top up the gravel every few years where it has thinned, and rake off fallen leaves before they rot into the stone.
If you are new to this way of gardening, convert one bed — three by four metres is plenty — and live with it for a season. You will learn how your soil behaves, which plants sulk and which take off, and how much stone you actually need. Then expand.
The pleasing thing about a gravel garden is that it improves as it gets less attention. Plants settle, self-seed into the gaps, and the whole thing knits together. After two or three years your main job is a spring tidy-up and a bit of judicious pulling. The rest of the summer belongs to you.
Photo: ROMAN ODINTSOV / Pexels
Previous Post
Shade-Tolerant Perennials: Compare 8 Reliable Choices for North-Facing Borders
Next Post
Balcony Herb Garden Checklist: Sun, Drainage, and Container Sizes