Compost Troubleshooting Guide: Why Your Pile Smells, Stalls, or Attracts Pests
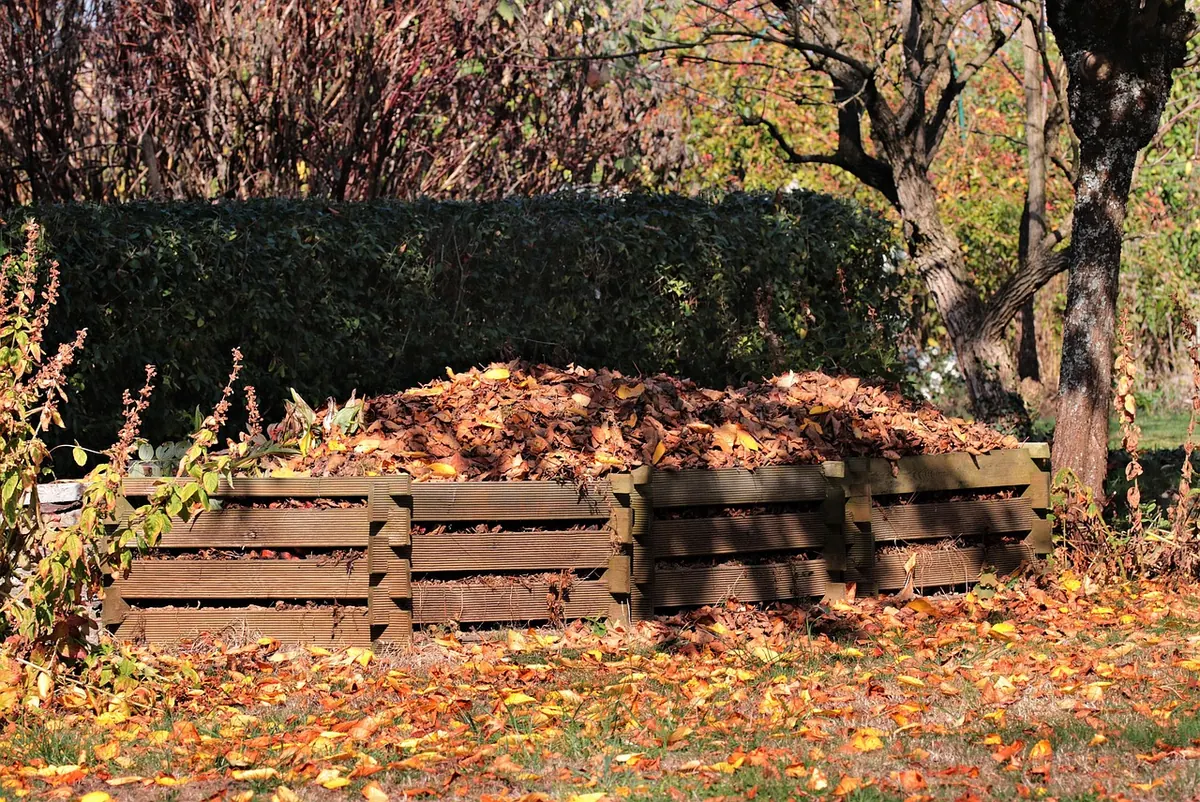
Composting has a reputation for being forgiving, and mostly it is. You pile up kitchen scraps and garden clippings, keep the heap roughly damp, and after a few months you dig out something dark and crumbly to spread on the beds. Then one morning you lift the lid and something has gone wrong. The pile reeks. Or it sits there unchanged for weeks. Or you disturb a cloud of flies that rises like smoke from a corner of the bin. None of this means composting has failed. It means one of three dials has slipped out of position — moisture, airflow, or the balance of greens and browns — and the symptom you are looking at tells you fairly precisely which one.
Before you diagnose anything, learn what a healthy pile feels and smells like. It has an earthy, forest-floor smell, slightly sweet, never sharp. When you plunge a fork into the middle it should be warm or even hot in summer. Everything else is a variation on that baseline.
Take a handful of material from about 20 cm inside the pile, not from the dry crust on top. Squeeze it hard. A well-balanced pile feels like a wrung-out sponge: your palm is damp, one or two drops might fall, but nothing streams out. If water runs down your wrist, it is too wet. If the handful crumbles and blows away, it is too dry. Dry piles simply stop working — the microbes go dormant and nothing rots. Wet piles rot the wrong way, without oxygen, and that is where most bad smells come from.
Composting with oxygen is fast and sweet-smelling; composting without it is slow and foul. Air gets into a pile when you turn it and when bulky, rigid materials create gaps and channels. That is why a heap of matted grass clippings collapses into an airless brick within a day. Turn the pile with a fork at least once a fortnight, mixing the outside to the middle and the middle to the outside. If you have a small tumble bin, give it a few full rotations every couple of days rather than one heroic effort every month.
Greens are soft, wet, nitrogen-rich material: vegetable peelings, grass clippings, coffee grounds, fresh plant trimmings, herbivore manure. Browns are dry, stiff, carbon-rich material: fallen leaves, straw, shredded cardboard, newspaper, woodchip, pruned twigs. Aim for roughly two to three parts browns to one part greens by volume — more browns than most people instinctively add. When in doubt, add browns. A pile that is too green goes slimy and smells; a pile that is too brown just sits there, patient and dull.
Smell is not a punishment. It is a diagnosis, and it is usually accurate.
This is the classic anaerobic signature: the pile is too wet and starved of air. Fix it in one session. Empty the bin onto a tarp, mix in a generous volume of dry browns — shredded cardboard, dry leaves, straw — and fork it all back in loosely. Leave the lid off for a day in dry weather if you can. If the base of the bin is sitting in a puddle, raise it on bricks or move it to higher ground.
Ammonia means too much nitrogen, typically from a sudden dump of grass clippings or a large load of kitchen scraps. The nitrogen is escaping as gas instead of being captured in the compost. Cover the offending layer with a few centimetres of browns, turn it in, and stop adding greens for a fortnight. Never add a thick, unbroken layer of fresh clippings; spread them thinly and mix with leaves or cardboard.
This usually points to fermenting kitchen waste sitting in a wet, compacted layer, often right under the lid. It is food waste going off rather than composting. Dig a hole in the middle of the pile, tip the scraps in, and cover them with at least 15 cm of existing compost or browns. Burying scraps is the single most effective habit in a small garden.
If you remember only one rule, make it this: every time you add something wet and green, add something dry and brown.
A stalled pile is cool to the touch and looks the same in June as it did in March. Start by checking moisture — dry piles are the most common culprit, especially in a hot summer or under a lidded bin. Water it slowly with a can until the squeeze test reads right, then turn it. Watering without turning just wets the top layer.
Next, consider size. A heap smaller than roughly a cubic metre loses heat faster than the microbes can generate it. If your bin is tiny, compost in batches, or insulate the sides with straw bales or old carpet in cold weather. Then look at the menu, because microbes need nitrogen to work: a pile made almost entirely of autumn leaves will sit there for a year. Layer in grass clippings, kitchen scraps, or a thin scattering of compost from a working heap to reinoculate it.
Finally, chop things up. Whole cabbage stems, corn cobs, and thick twigs take months longer than shredded material. Run a spade through the pile as you turn it, or keep a pair of secateurs by the bin.
Pests follow food. A well-managed pile of garden waste and buried scraps is rarely a problem, but exposed kitchen waste will draw every fly in the neighbourhood.
Most compost problems are caught early by a short, regular inspection rather than a dramatic rescue. Once a week, do this:
No two compost heaps behave the same way, because no two gardens produce the same materials in the same weather. A shady corner under a fig tree in a wet climate asks for something different from a sunny allotment in a dry summer. Treat the advice above as a starting point and adjust from what you observe: wetter, drier, more browns, more air. Keep a small stash of shredded cardboard or dry leaves beside the bin so the fix is always within arm's reach, and turn the pile before it starts to complain rather than after. Within a season you will stop following rules and start simply reading the heap — which is, in the end, the whole pleasure of it.
Photo: pixel2013 / Pixabay
Previous Post
Balcony Herb Garden Checklist: Sun, Drainage, and Container Sizes
Next Post
Privacy Screening Compared: Hedges, Trellises, and Fence Planters